Screens
The Screens menu can be accessed from the Admin module.
Use the search bar to filter by name, controller, location, resolution, tile information or ID. The list will be updated as you type.
You can sort the list by clicking on any of the headings except ID and Action.
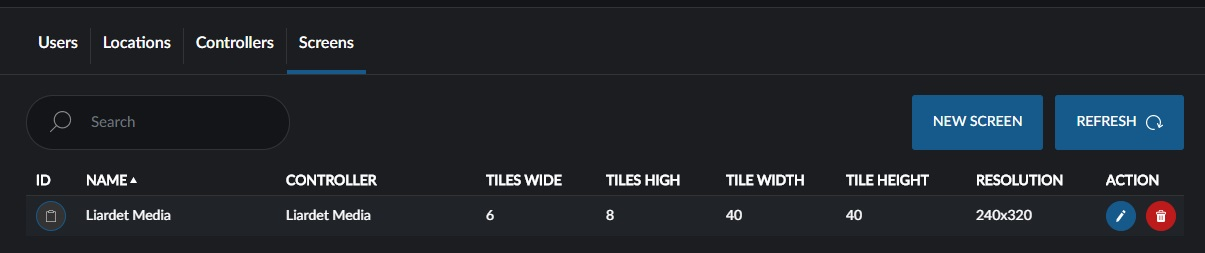
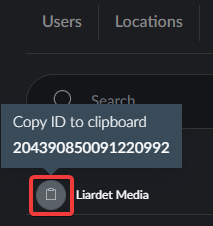
If you need the Screen ID number, hover on the clipboard to the left of the Screen name. You can click it if you want to copy the ID to your clipboard. From the Screens menu, click the New Screen button.
How to Add a New Screen
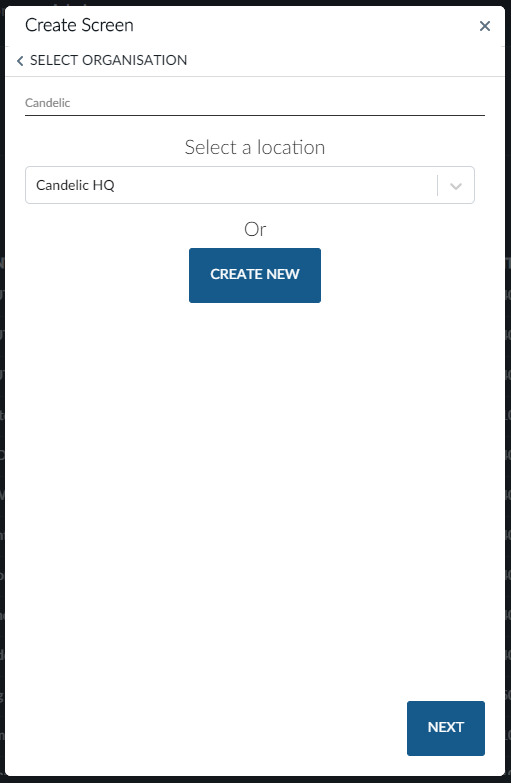
Select the associated organisation (if you manage screens for multiple organisations), associated location and associated controller and then click the Next button to input the Screen Details. If the organisation, location or controller needs to be set up, click Create New to do so.
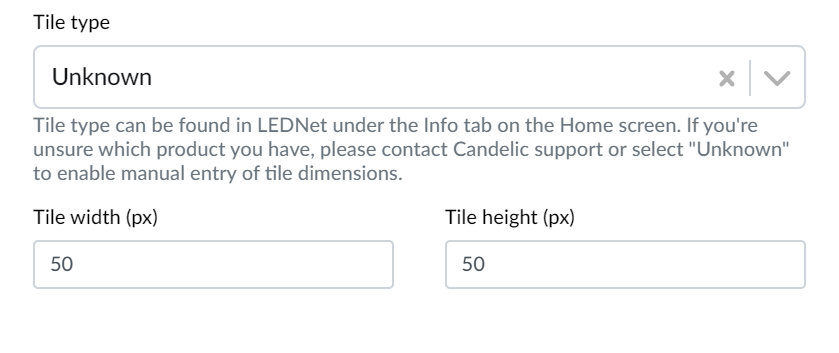
The details entered here will be used throughout the system so ensure they are correct. Fill in the number of tiles that make up the screen width and height and choose a tile type. The system will use the tile type to calculate the screen resolution.
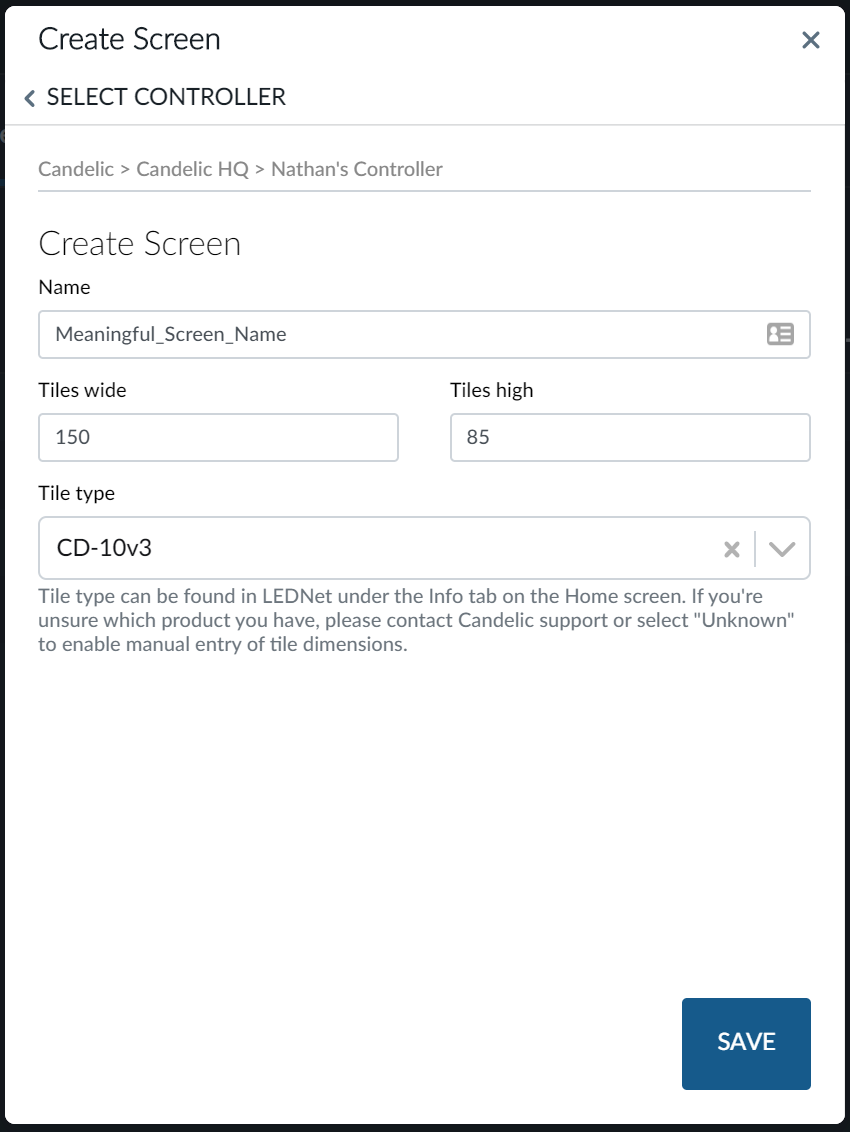
If your tile type isn't shown you can choose Unknown and enter the height and width of the tiles in LEDs.
Click Save when you have entered all details.
How to Edit a Screen
If you wish to make changes to a Screen, click the Edit button located under the Action column. This will bring up the Screen details pop-up for you to make changes. When you're done, click the Save button.

How to Delete a Screen
To delete a Screen, click the Delete button located under the Action column.

A confirmation pop-up will appear for you to confirm the action. If you are sure you would like to delete a Screen, click the Confirm Delete button.

If you accidentally delete a screen, it may be possible to recover it. Please contact Candelic for assistance.